


In this tutorial, learn how to void an invoice in NetSuite by issuing a credit memo, along with the reasons and methods for doing so.
Steps to Void an Invoice
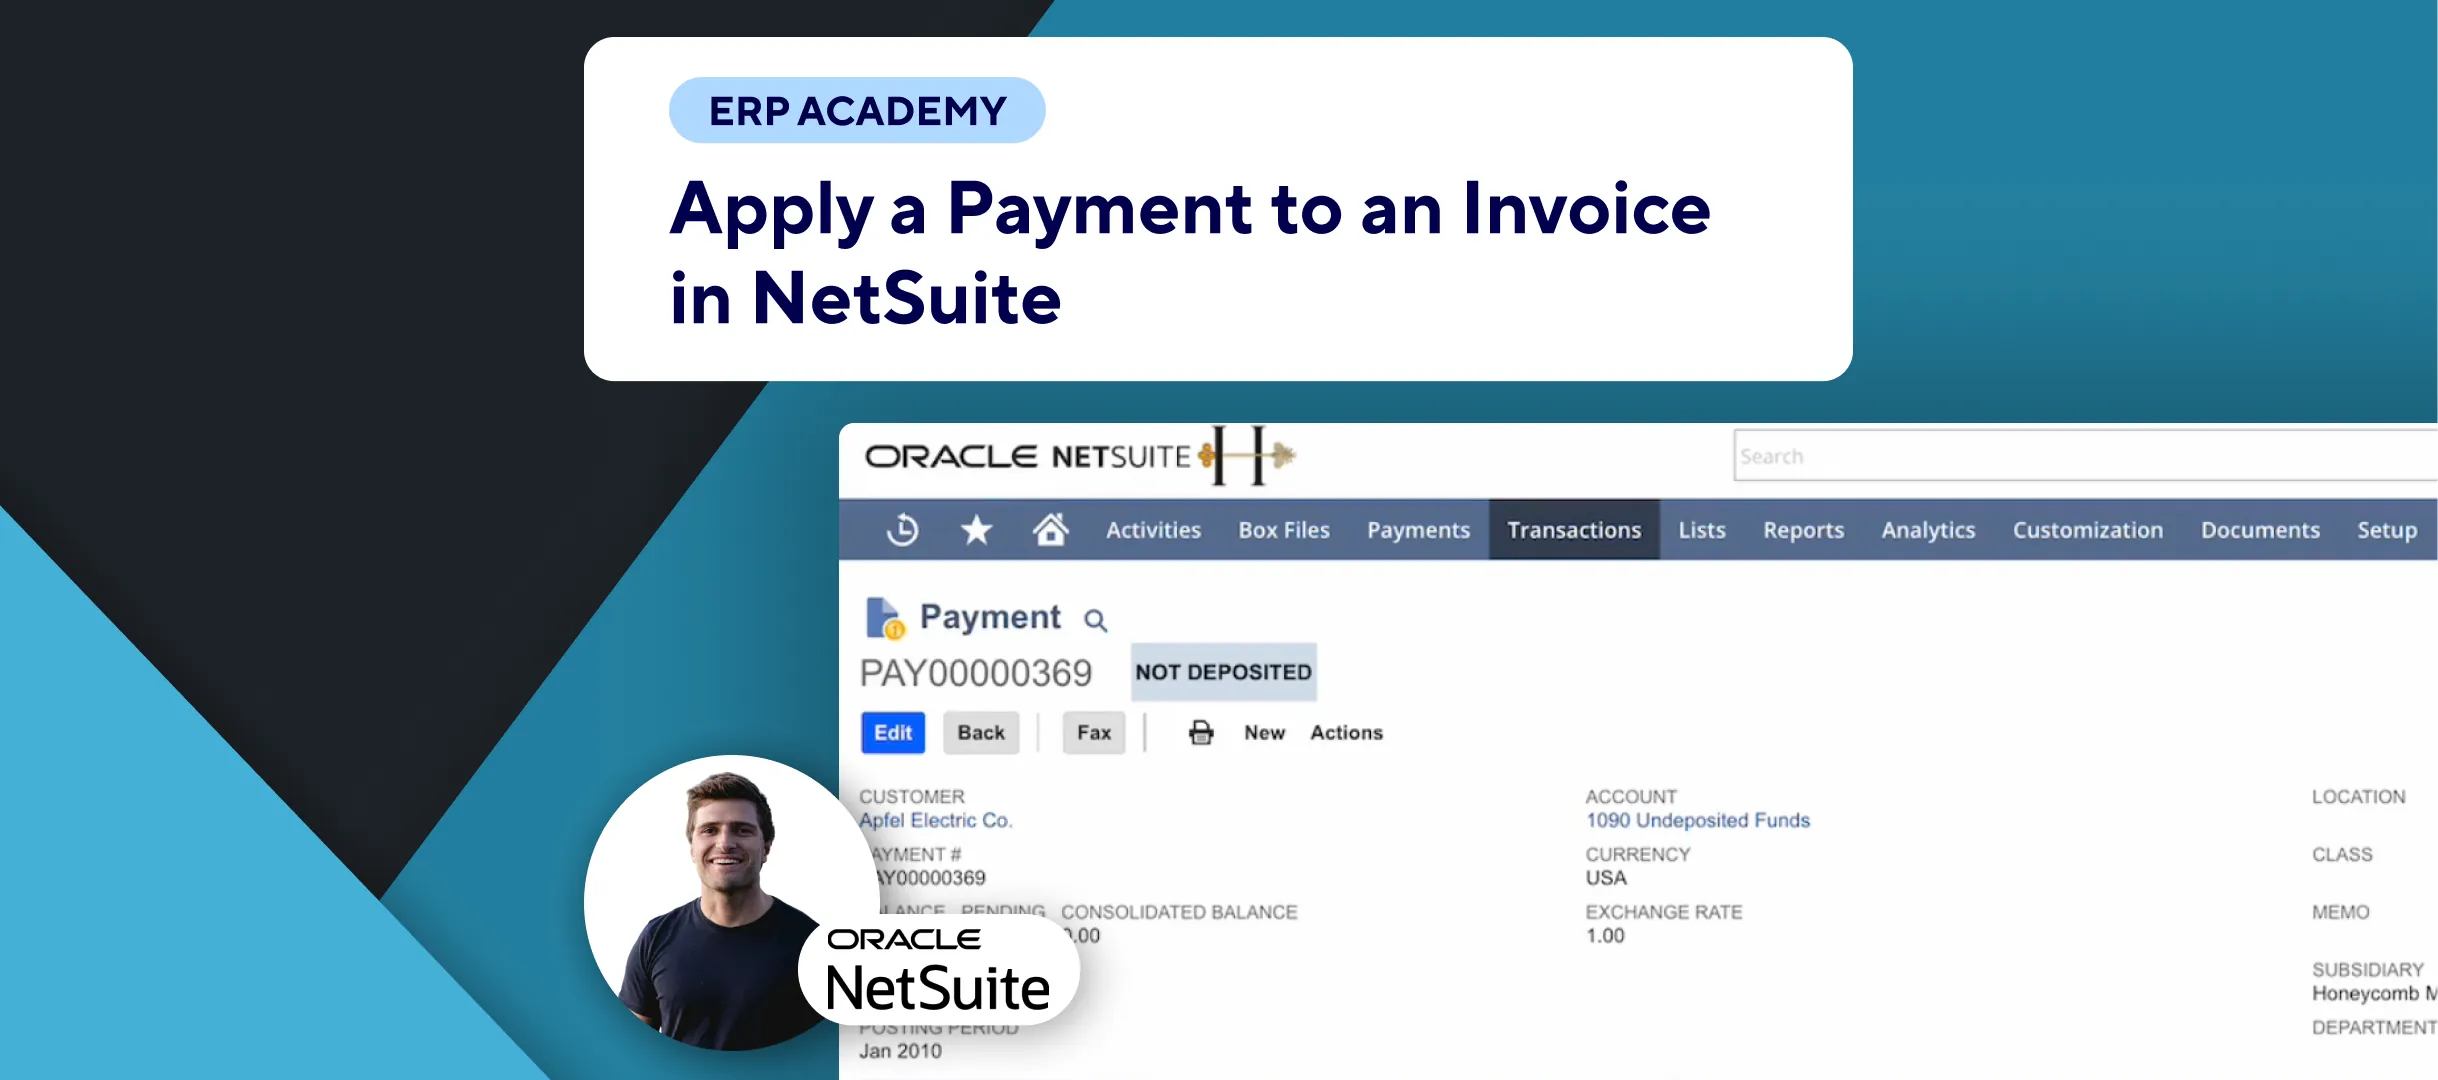
📂 Navigate to the Invoice:
- Identify the invoice you need to void. For example, an invoice with a total of $1,773.
💳 Issue a Credit Memo:
- Click on the “Credit” button in the top left corner.
- This will create a credit memo with the same total amount and line items as the original invoice.
Reasons for Using a Credit Memo Instead of Voiding
- Accounting Accuracy:
- Ensures financial records reflect actual transactions.
- Reconciliation:
- Helps in matching credit memos with corresponding invoices for easier account reconciliation.
- Compliance:
- Maintains adherence to accounting standards and practices.
- Audit Trail:
- Provides a clear audit trail for voided transactions.
Finalizing the Credit Memo
💾 Save the Credit Memo:
- Ensure the posting period matches the invoice.
- Click “Save” to process the credit memo.
Handling Overpayments
💲 Managing Overpayments:
- If the invoice has been paid in full or partially, issuing a credit memo may result in an excess payment.
- There are two ways to manage this overpayment:
- Issue a Refund: Refund the overpaid amount to the customer.
- Credit Balance: Leave the amount as a credit balance in the customer’s account for future use.
📧 Notifying Customers:
- It’s important to notify customers about the credit memo and any excess payments. This can be done automatically via email, SMS, or team tasks if you use Kolleno.
Final Thoughts
Using a credit memo in NetSuite instead of voiding an invoice ensures accuracy, compliance, and provides a clear audit trail. For more efficient customer communication and credit management, consider using Kolleno to automate notifications.
That’s it for today! 👋