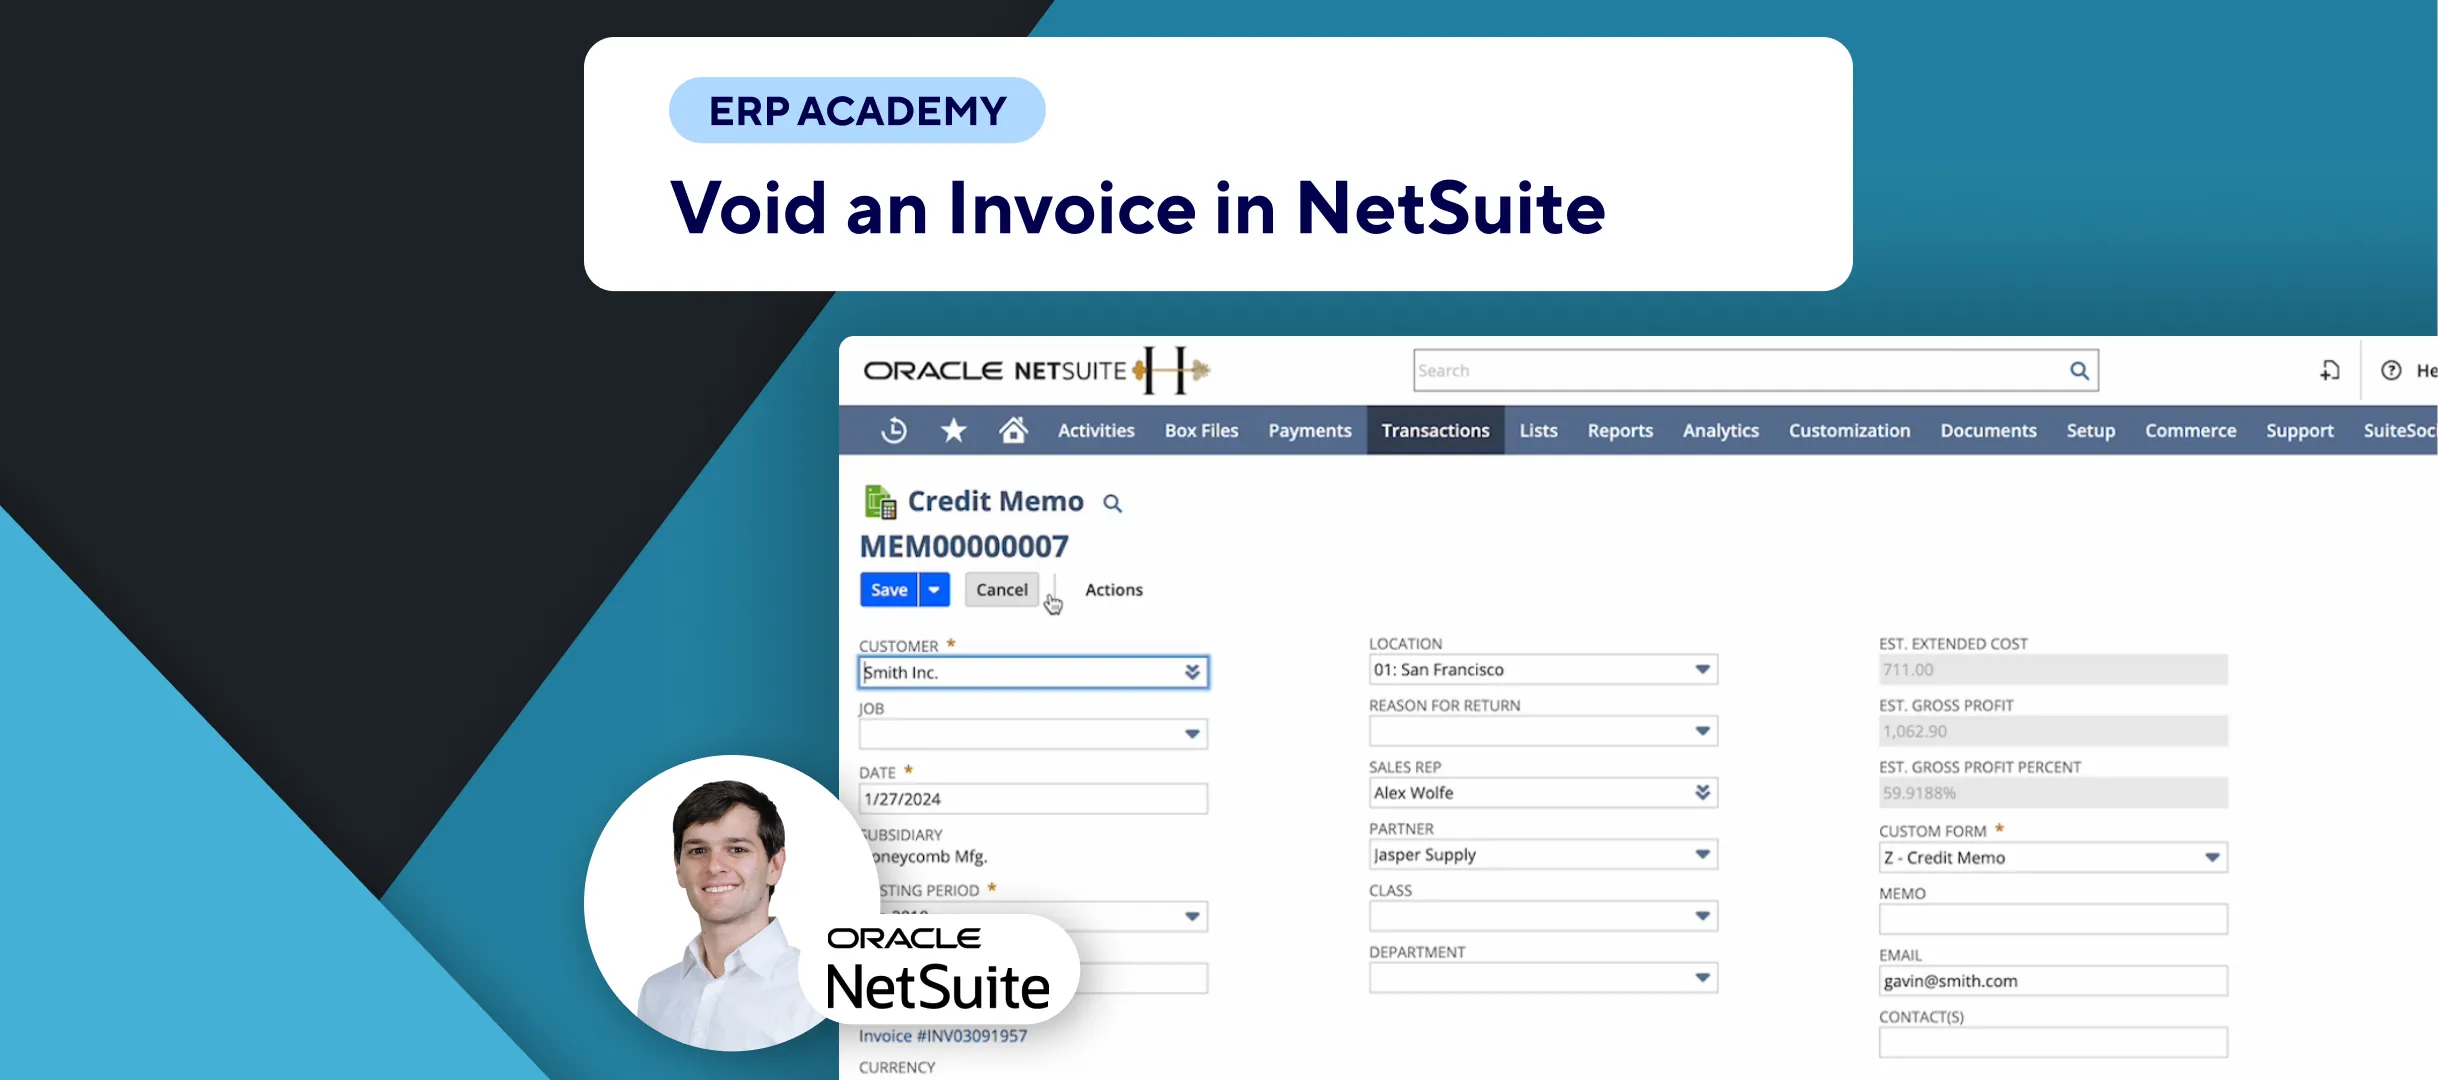


🚨 Problem: Importing invoices manually can be time-consuming and prone to errors. This tutorial will guide you through the steps to bulk import invoices into NetSuite using a CSV file, ensuring efficiency and accuracy.
Steps to Bulk Import Invoices
- Prepare Your CSV File:
- 📝 Ensure your CSV file has a header row with column names.
- 📊 Populate the file with your invoice records. For this example, we will use a CSV with just one record.
- Navigate to CSV Import:
- 📂 Go to: Setup > Import/Export > Import CSV Records.
- Set Import Preferences:
- Import Type: Select “Transactions” for invoices.
- Record Type: Choose “Invoice.”
- Character Encoding:
- 🖥️ If you’re on Microsoft Windows, use Western (Windows 1252).
- 🍏 If you’re on Mac or the CSV is exported from another system, use Unicode (UTF-8).
- CSV Delimiter: Ensure it is set to comma-delimited.
- Upload Your CSV File:
- 📁 Select your CSV file.
- 📤 Click “Next.”
- Choose Import Options:
- Add, Update, or Add or Update:
- 🆕 Choose “Add” for new invoices.
- 🔄 Choose “Update” if updating existing invoices.
- ➕🔄 Choose “Add or Update” if your CSV contains both new and existing invoices.
- Add, Update, or Add or Update:
- Map CSV Fields to NetSuite Fields:
- 🗺️ On the left, you will see the fields from your CSV file.
- 📋 On the right, you will see the corresponding NetSuite fields.
- Drag and Drop: Match the CSV headers to the correct NetSuite fields by dragging and dropping.
- ✅ Ensure all necessary fields (e.g., invoice number, due date, currency) are mapped correctly.
- Save and Run the Import:
- 💾 Save your field mapping for future use (e.g., “Mapping Invoices”).
- ▶️ Click “Save & Run.”
- Check Import Status:
- 📊 View the import job status to monitor progress.
- Error Handling:
- ❌ If there are errors, download the CSV response to see detailed error messages.
- 🔍 Use the error messages to identify and correct issues.
Tips for Efficient Imports
- Field Mapping:
- 🗺️ Save your field mappings to reuse for future imports, saving time and ensuring consistency.
- Error Resolution:
- ⚠️ If errors occur, consult NetSuite FAQ or support for solutions.
Final Thoughts
Bulk importing invoices into NetSuite using a CSV file is a straightforward process that can significantly enhance efficiency. By following these steps, you can ensure accurate and timely data entry.