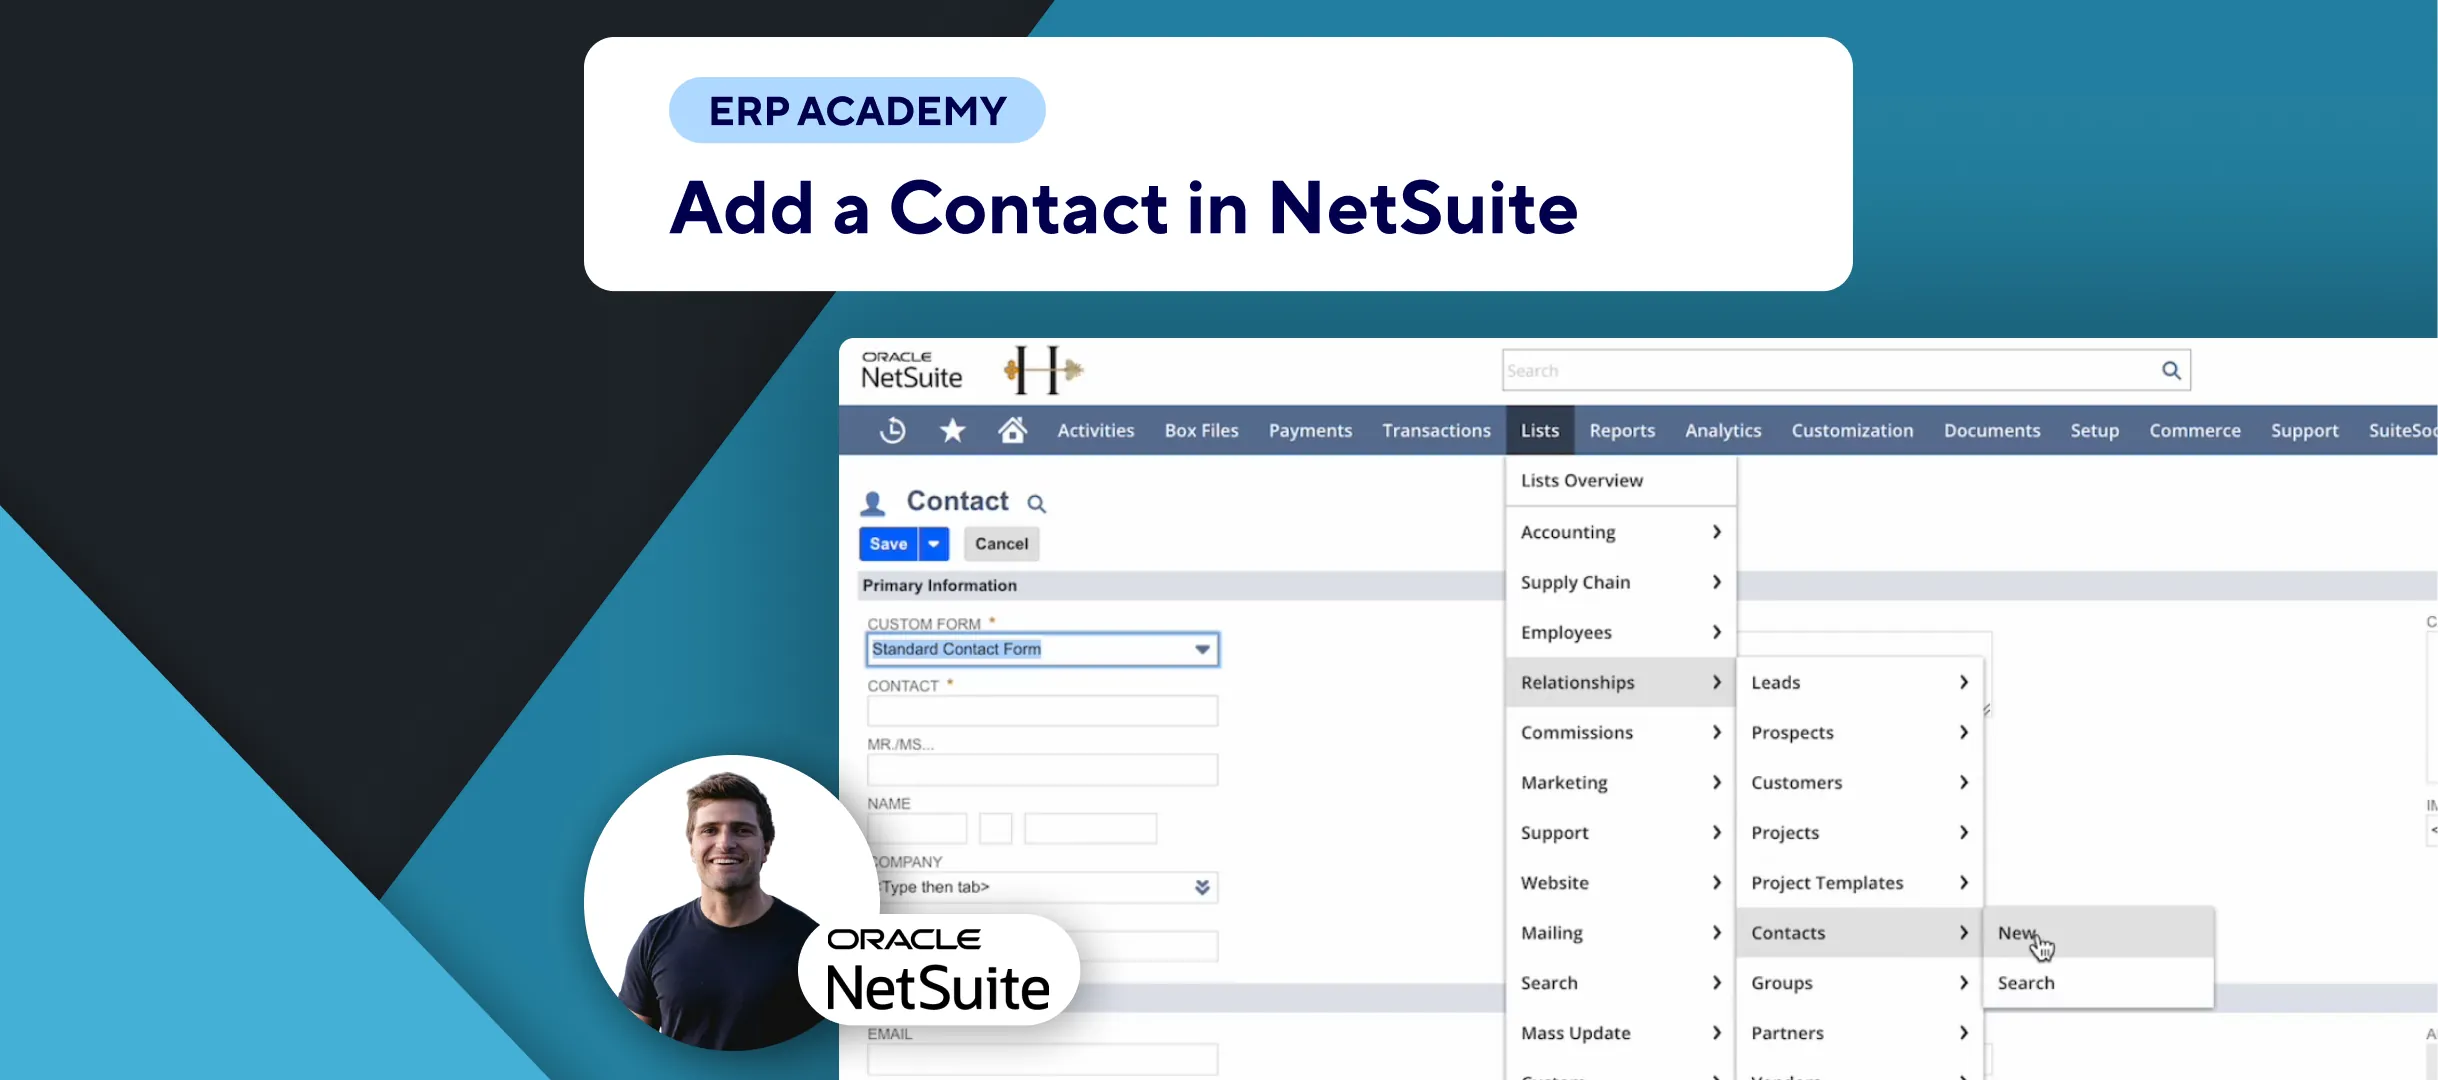
🚨 Problem: Creating new customers in NetSuite can seem daunting due to the variety of options and fields available. This tutorial simplifies the process, ensuring you can efficiently add new customers to your system.
Steps to Create a Customer
- Navigate to Customer Page:
- 🔍 In the search bar, type
page: customersand select the appropriate result. - 📂 Click on the “New Customer” button to open the customer creation form.
- 🔍 In the search bar, type
- Fill in Customer Information:
- 📝 The form may vary based on your custom setup. Focus on filling out the mandatory fields marked with an asterisk (*).
- Basic Information:
- Enter the customer’s name and other essential details.
- Contacts Tab:
- 📇 Use the “Contacts” tab to add multiple contacts for the customer. This is more efficient than entering individual email and phone details.
- Customize Based on Needs:
- ⚙️ Depending on your company’s requirements, fill in additional fields as needed. Over time, you’ll learn which fields are essential for your workflow.
- Save the Customer:
- 💾 Click “Save” in the top left or bottom left corner of the form.
Tips for Efficient Customer Management
- Use Contacts:
- 📇 Adding multiple contacts under the “Contacts” tab is helpful for managing customer communications more effectively.
- Focus on Mandatory Fields:
- 🛠️ Start with the mandatory fields and gradually fill in additional information as needed.
Final Thoughts
Creating a new customer in NetSuite is a straightforward process once you know which fields to prioritize. By focusing on the mandatory fields and using the contacts tab, you can efficiently manage customer information.
For more tips and detailed guides, visit Kolleno.com