🚨 Problem: Adding new vendors or suppliers in NetSuite is essential for accurate financial management and procurement processes. This tutorial will guide you through the steps to create a new vendor efficiently.
Steps to Create a New Vendor
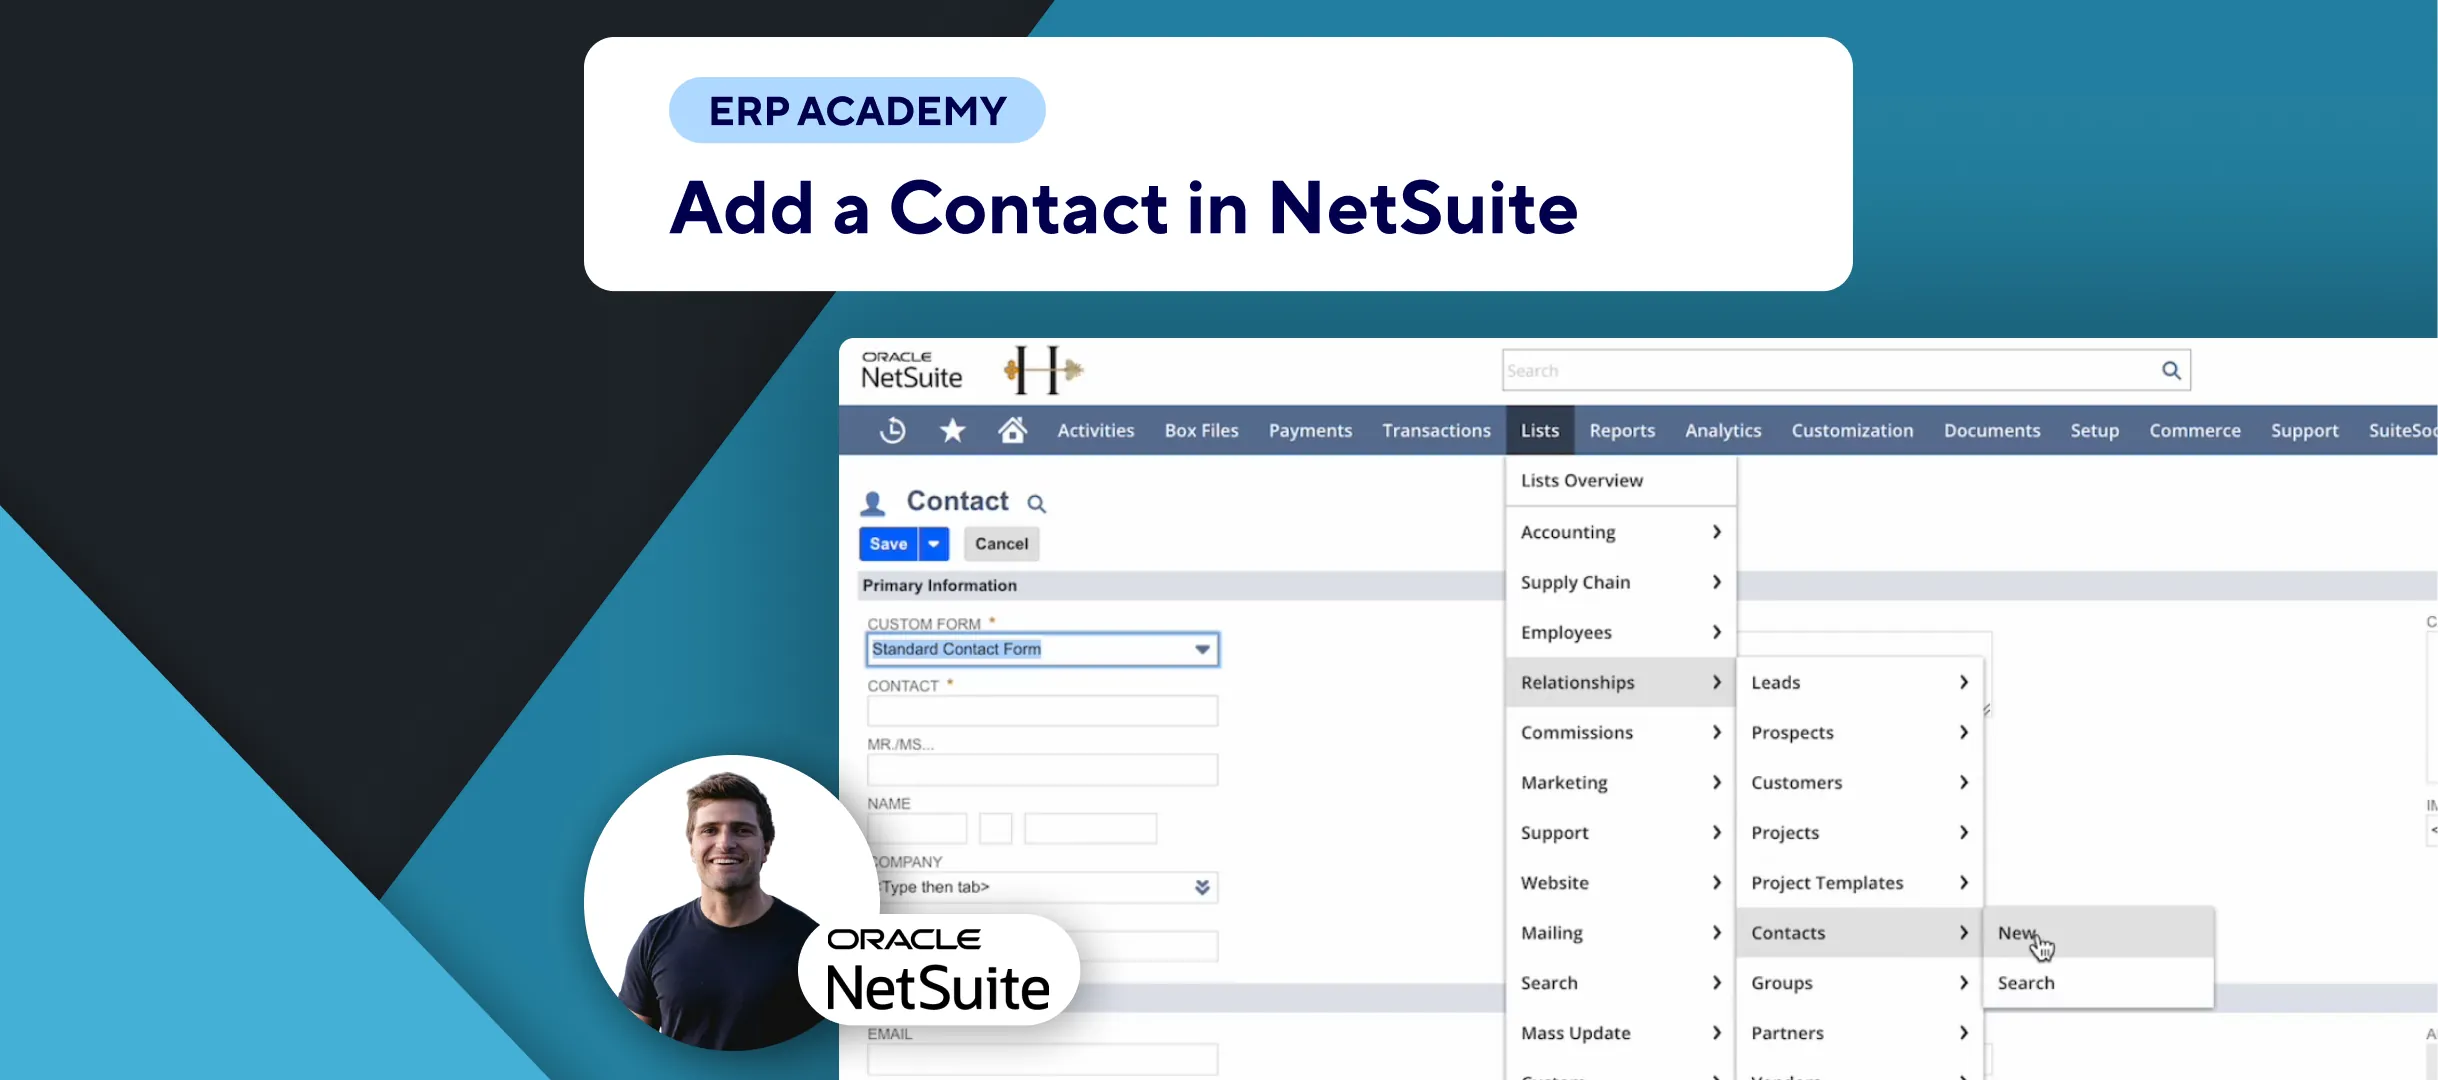
- Navigate to Vendor Creation:
- 📂 Go to: Lists > Relationships > Vendors > New.
- Select Subsidiary:
- 🌐 If using a multi-subsidiary setup, select the appropriate subsidiary for the new vendor (e.g., Honeycomb Holdings).
- Fill in Basic Information:
- 🏢 Company Name: Enter the vendor’s company name.
- 📞 Additional Information: Add phone numbers, email addresses, and any relevant comments.
- Add Key Contacts:
- 👤 For each key contact, fill in:
- Name: e.g., Bob.
- Title: e.g., CFO.
- Email: e.g., bob@example.com.
- ✅ Click “Add” to include each contact.
- Mandatory Fields: Ensure all fields marked with a red asterisk (*) are filled out.
- 👤 For each key contact, fill in:
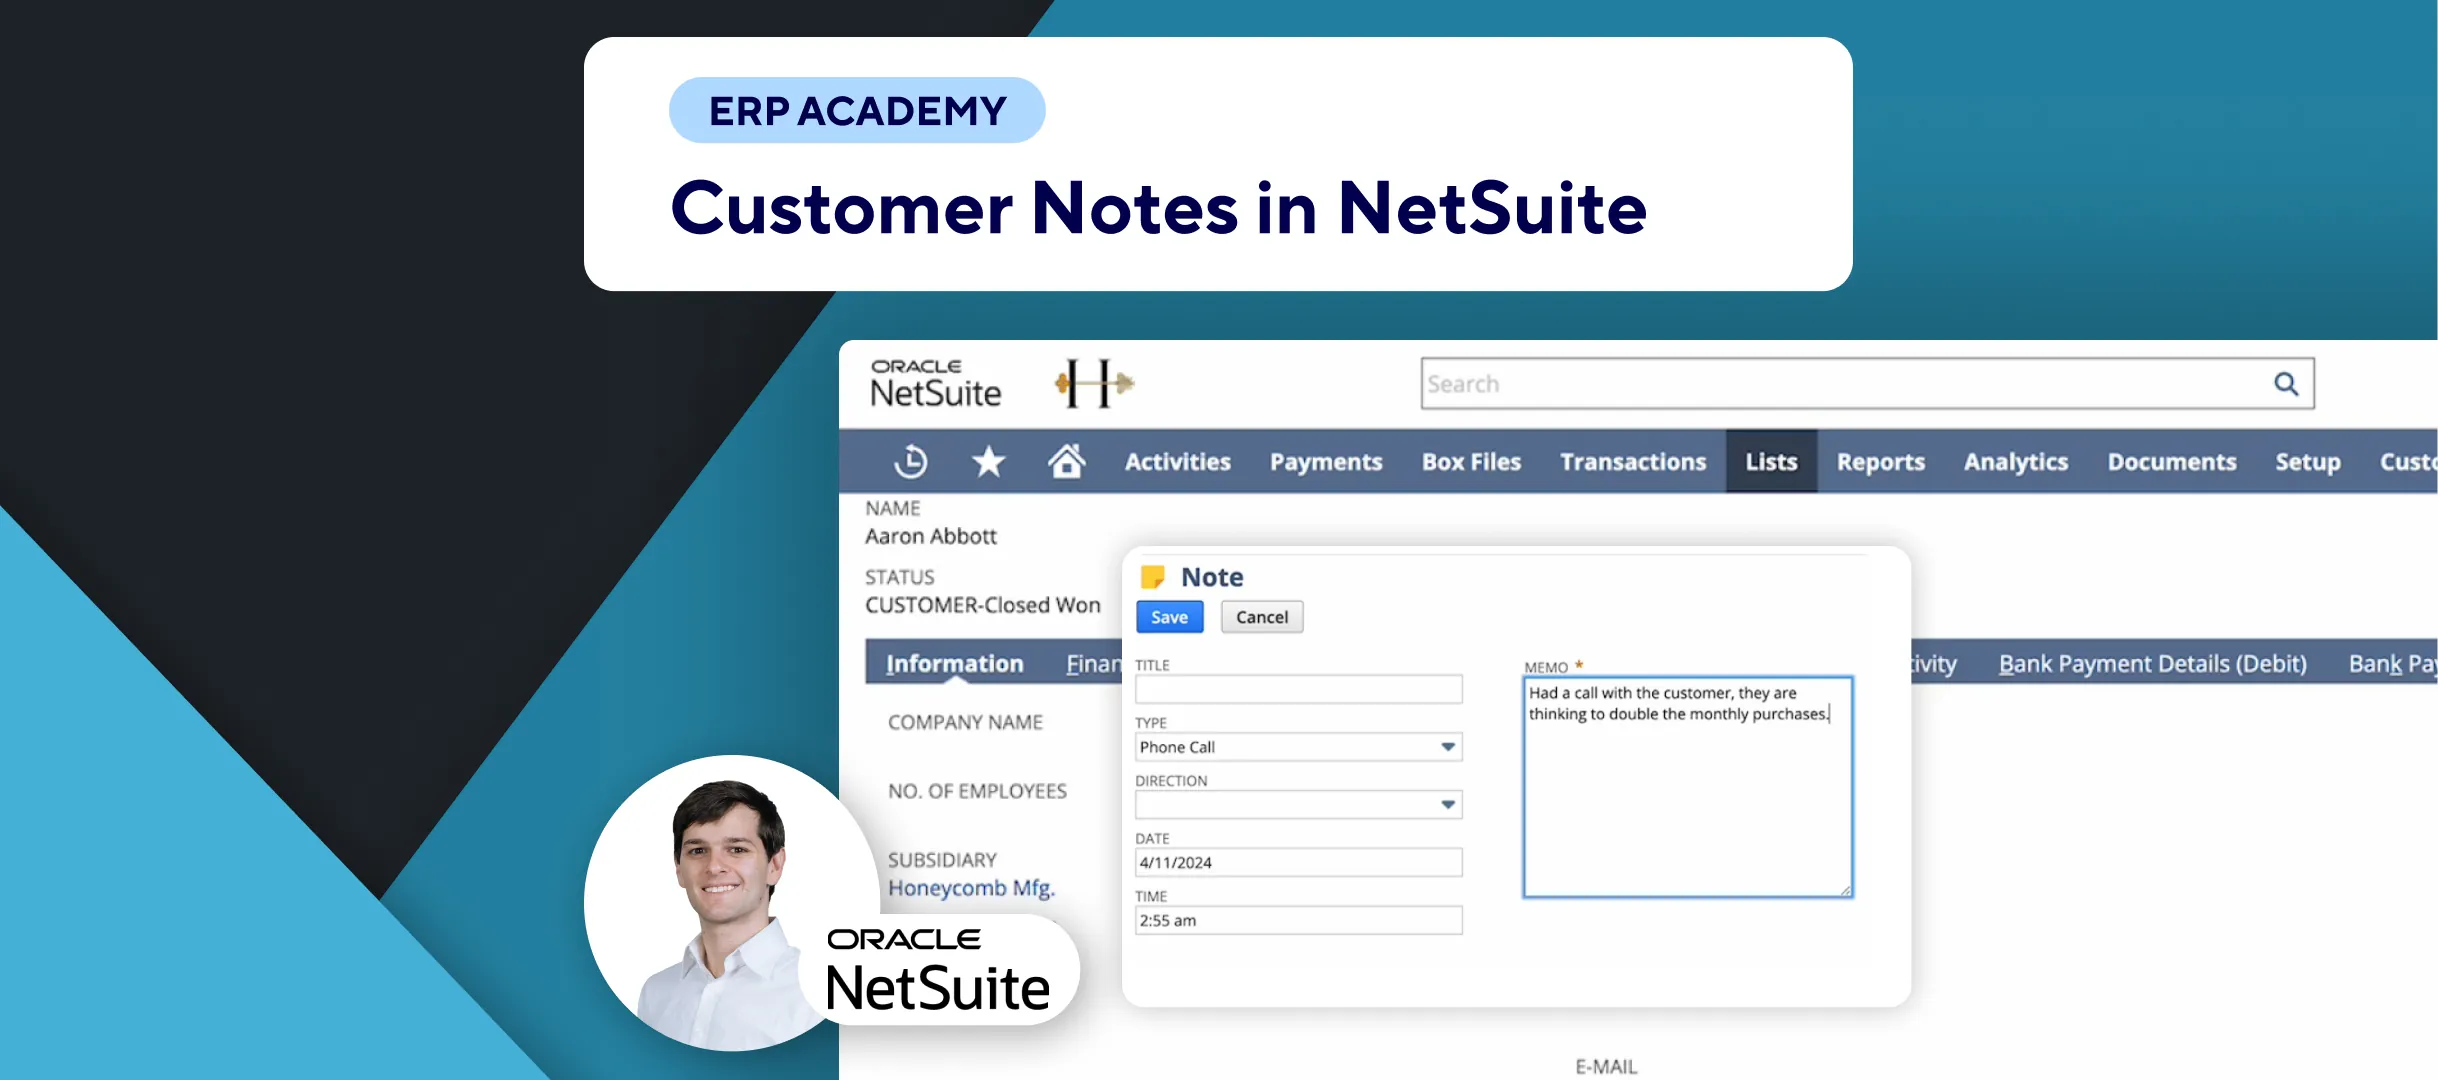
- Track Interactions:
- 📞 Phone Calls, Tasks, Events, User Notes: Log any interactions with the vendor.
- 📂 Additional Files or Documents: Attach any important documents related to the vendor.
- Enter Company Details:
- 🏠 Default Addresses: Input the vendor’s default addresses.
- 📊 Financial Information: Specify the general ledger account for mapping transactions.
- 🛒 Purchase Order Tolerances: Set tolerances for quantities and amounts, and configure any workflows or automations based on these settings.
- Set Bank Payment Details:
- 💳 EFT Details: Enter bank payment details to enable electronic fund transfers (EFT) for bill payments.
- Save the Vendor:
- 💾 Once all information is accurately entered, click “Save” to create the new vendor.
Important Considerations
- Detailed Entries:
- 🖊️ Ensure all relevant information is filled in to maintain comprehensive records.
- Use Correct Fields:
- 📋 Use specific fields for contacts, addresses, and financial details to ensure accurate data management.
- Automations and Workflows:
- 🔄 Utilize NetSuite’s automation and workflow capabilities to streamline processes related to vendor management.
Final Thoughts
Creating a new vendor in NetSuite is a straightforward process that enhances your procurement and financial management. By following these steps, you can ensure all necessary information is accurately recorded and easily accessible.